


REASSEMBLE YOUR WALL CLOCK
![]()
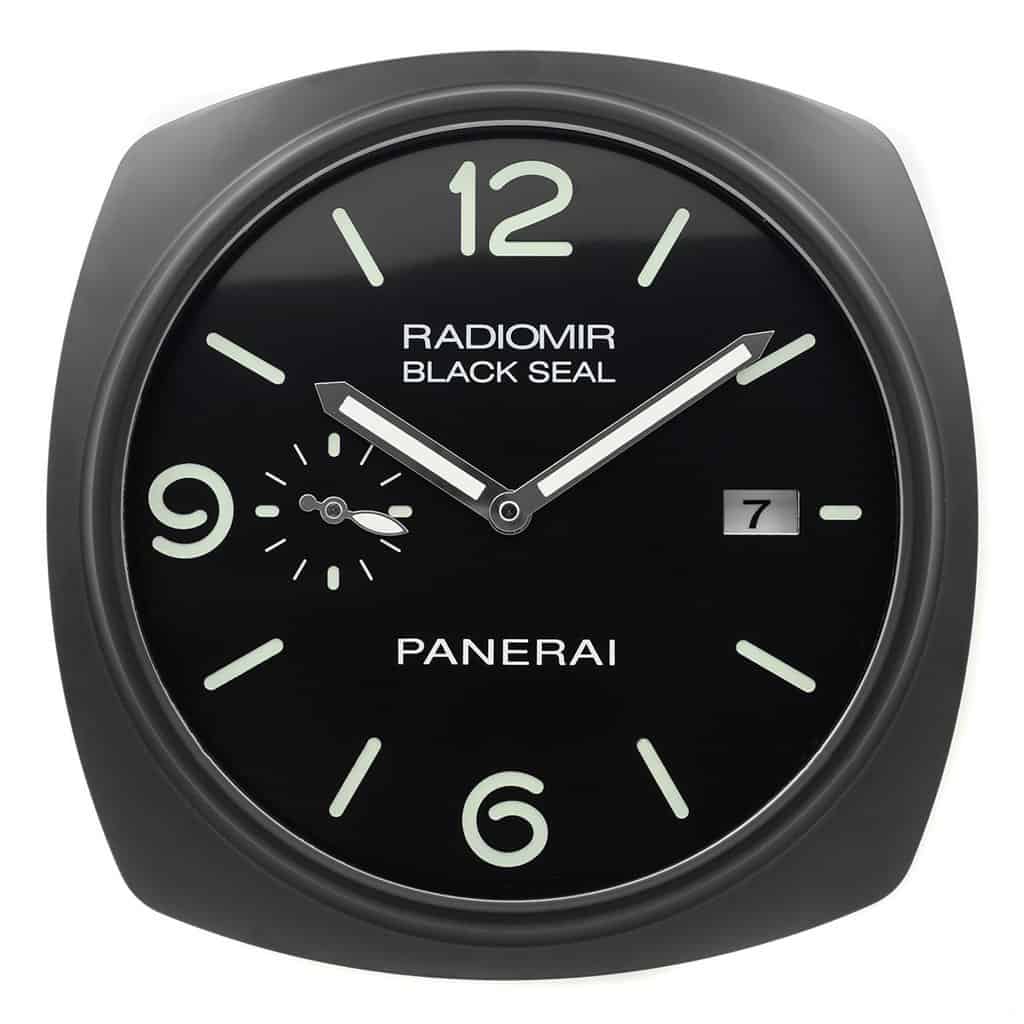
This guide explains how to repair and reassemble your wall clock. Before reading this guide, ensure you have read the first section on how to disassemble your wall clock.
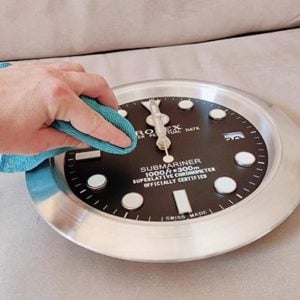
1. Clean the dial and the inner surface of the glass with a soft, clean microfiber cloth. Be careful not to bend the hands. If there are stains or fingerprints that are difficult to remove, use a cloth soaked in alcohol or a small drop of washing-up liquid to remove them.
2. Place the glass in the slot with the frame. Make sure you view it from above to avoid any perspective distortion. If your clock has a cyclops, ensure it is positioned directly in front of the date!
3. Position the bezel, ensuring that the glass does not move and that the 12 o’clock markings are aligned.
While holding the bezel and dial together to maintain alignment, flip the clock over.
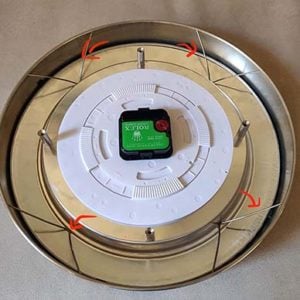
4. Insert the clips into their correct positions, ensuring they are evenly spaced. Tip: Replace 2 clips first, then check the alignment of the dial and bezel. This way, even if the alignment is slightly off, you can adjust it before attaching the last two clips.
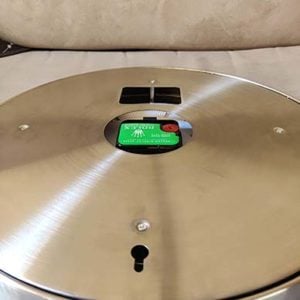
5. Attach the back panel cover and screws, and you’re done! – Tip: Ensure that the hole for hanging your clock is in the correct position.
![]()