















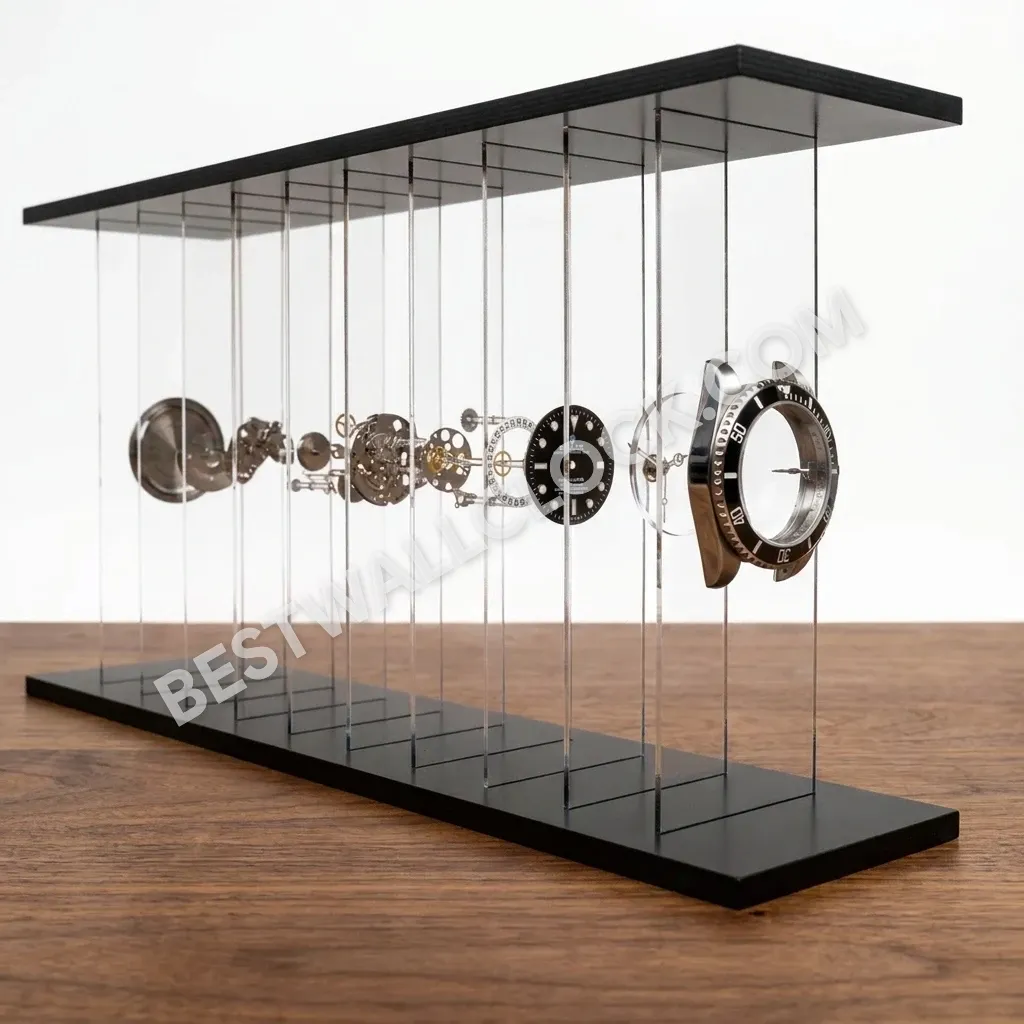





Reassemble your wall clockGlass, bezel, clips, back panel
Disassembly in reverse, with one difference: this is the last time you will see the inside of the case, so everything gets checked before it is sealed. A fibre behind the glass or a hand that catches once an hour is a small thing now and a full strip-down later. Take the extra two minutes.
- Finish the alignment first. If the hands still need setting, run guide 03 before you close the case, not after.
- Dry microfibre, and the screws you set aside. Nothing abrasive, nothing that sheds fibres, and a light you can angle across the glass.
- Have the battery to hand. It goes back in before the glass, so you can prove the clock runs while you can still reach it.
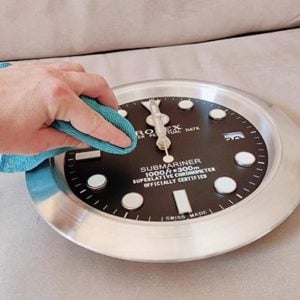
Clean the dial and the inside of the glass
Go over the inner face of the glass with a dry microfibre, then tilt it under a light and look across the surface rather than straight at it. That is the only way to catch the fibres and dust you will otherwise be looking at for years. Work around the hands on the dial, never across them.
Caution
Keep solvent on the glass only. Alcohol on a printed dial can lift the printing and dull the luminous markers, and neither comes back. For a mark on the dial itself, a barely damp cloth and patience. Apply anything wet to the cloth, never into the case.

Fig. 1Around the hands, not across them. A dry cloth on the dial. Put the battery back and prove it runs
Fit the battery and leave the clock running while you get the glass ready. Watch the second hand cross the twelve, the three, the six and the nine. Every fault in this archive shows itself in one revolution, and right now it costs you nothing to fix.
Note
If a hand hesitates or stops anywhere, go back to guide 02 before you go any further. This is the last moment you can reach the hands without undoing everything.
Seat the glass in the frame
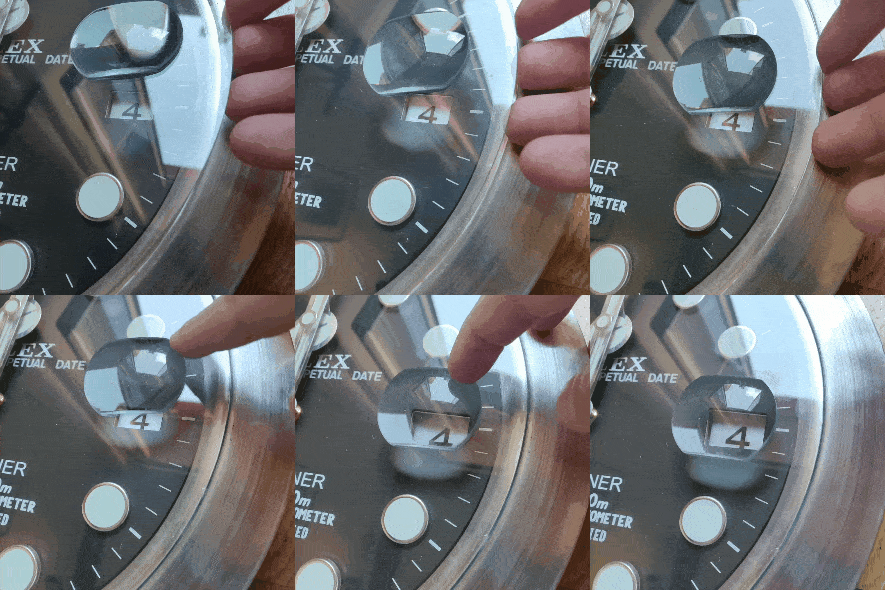
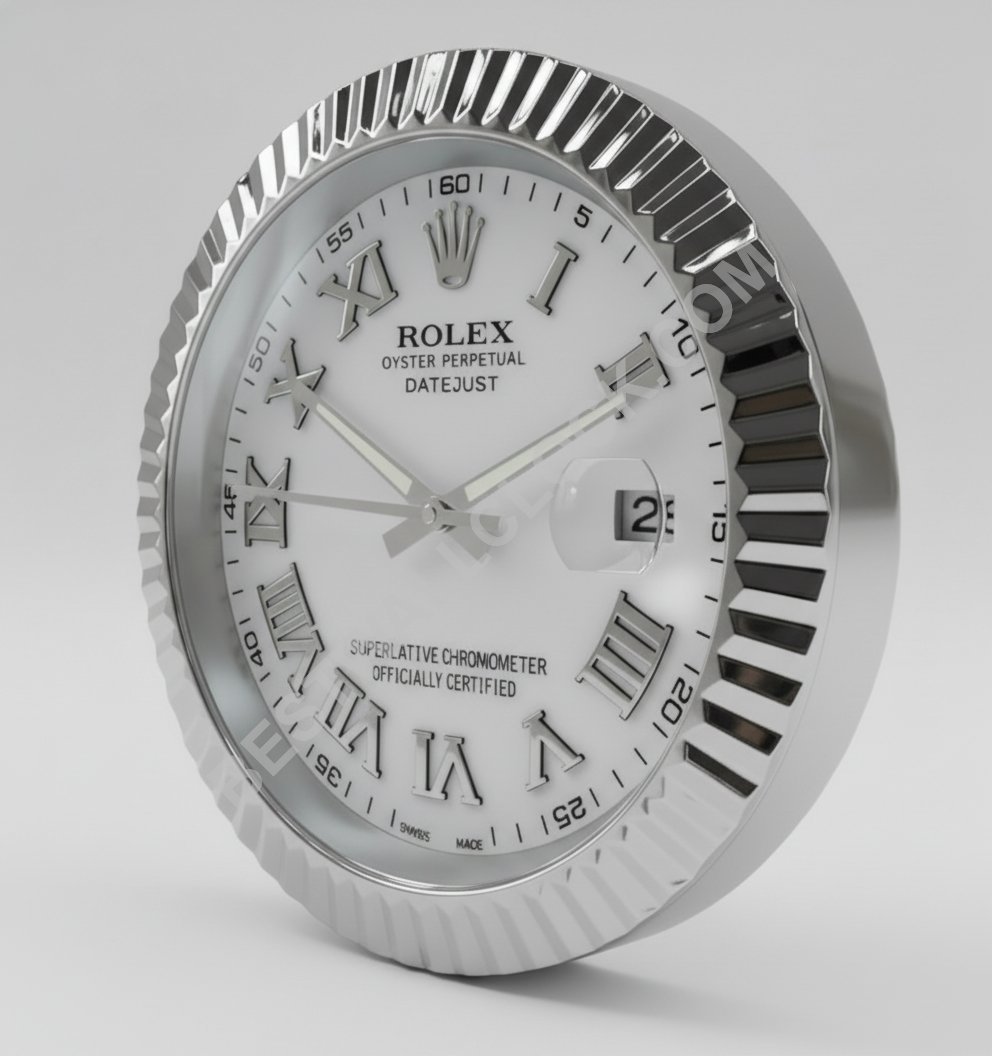
Lower the glass into its slot and look at it from directly above. Anything less than square on and perspective will tell you it is seated when it is not. If your model has a cyclops, this is the moment to get it centred over the date window — once the bezel and clips are on, moving it means starting again.

Fig. 2Straight down from above. The cyclops sits centred on the date. Fit the bezel, then flip the whole thing over
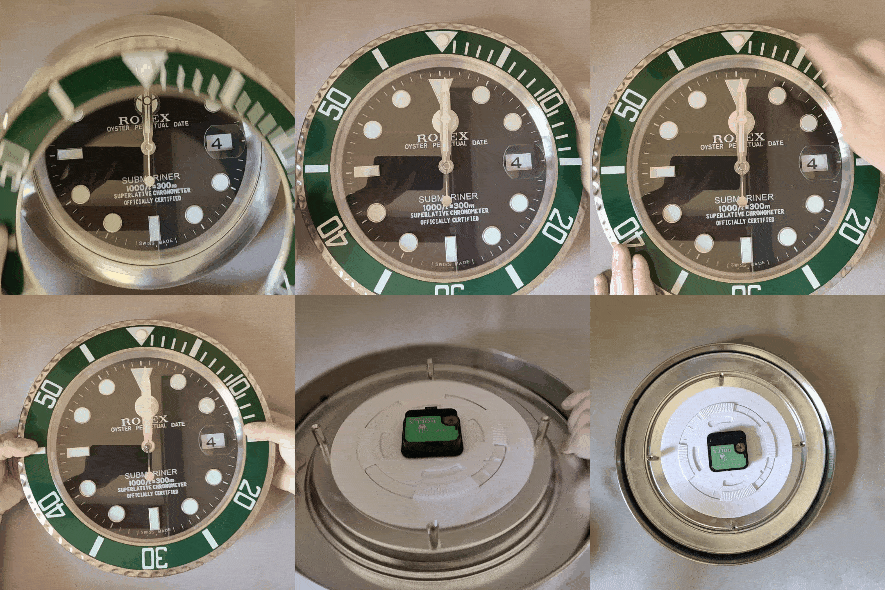
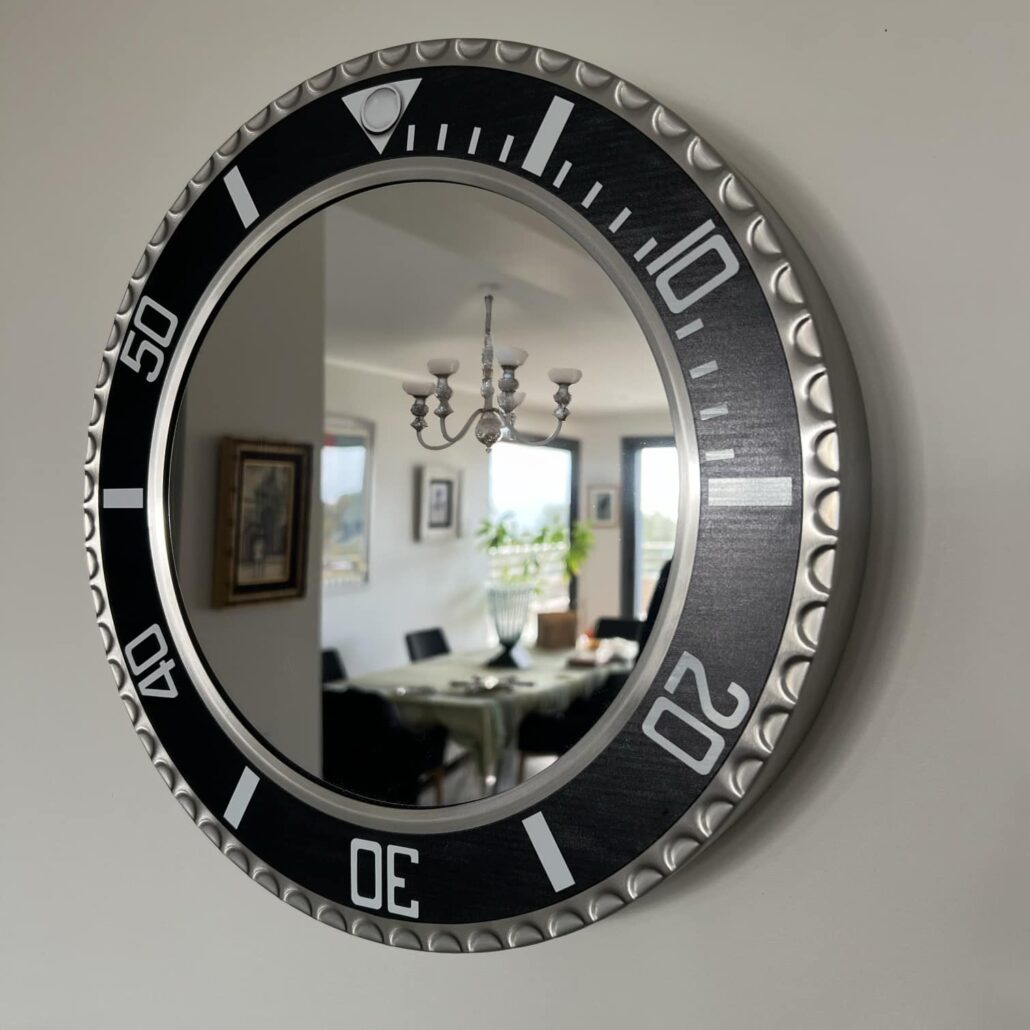
Lay the bezel on and check two things before you move: the glass has not shifted in its slot, and the twelve on the bezel lines up with the twelve on the dial. Then hold the bezel and dial together as one and turn the clock face-down in a single movement.
Caution
Nothing is holding the stack together yet. Let go of either half mid-turn and the glass drops out. Grip both, turn once, set it down.

Fig. 3Both halves gripped as one. Twelve on the bezel over twelve on the dial. Fit the clips, two at a time
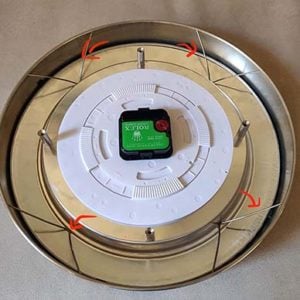
Put two clips on first, opposite each other, and stop. Turn the clock over and check the alignment through the glass. While only two are on there is still enough play to nudge the dial straight; once all four are seated there is none. When it looks right, fit the other two evenly spaced.

Fig. 4Two first, check, then the remaining two evenly spaced. Back panel on, screws in, done
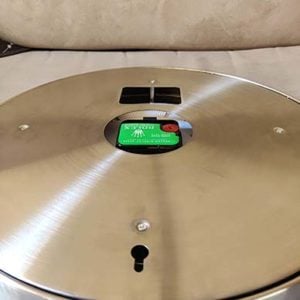
Set the back panel on the way it came off and check the hanging hole before the screws go anywhere near it. Fitted upside down, the clock will sit crooked on the wall and you will be back here to correct it. Then run the screws in, working across the panel rather than round it.
Caution
Finger-tight and no further. The threads are cut into the case, and leaning on the driver at the last quarter turn is what strips them.

Fig. 5Hanging hole checked before the first screw goes in.
Before it goes on the wall
Four things, one minute. Everything on this list is easy to correct now and a full strip-down to correct later.
- The second hand completes a full revolution without hesitating anywhere.
- Nothing behind the glass. Angle it under a light one last time.
- The twelve on the bezel and the twelve on the dial agree.
- If it has a date, it turns tonight at midnight rather than in the evening.
- 01Disassembling your clockOpening the steel chassis ring and lifting the dial out without marking the finish.
- 02Fixing loose or bent handsClearing the contact between hands that stalls the movement, and reseating a hand that spins freely.
- 03Resetting your wall clockSynchronising the hour hand and aligning the cyclops over the date window.
- 04Changing the movementFitting a replacement silent sweep caliber to the centre shaft mount.
Every movement we ship carries a two-year warranty. If something still isn’t right, send a photo to officialbestwallclock@gmail.com or message us on WhatsApp — replacement hands and movements go out free of charge.